Retropie: PC (x86) and Steam games support
This tutorial explains how to access your PC (x86) and Steam games from EmulationStation. This method only applies to a PC installation of Retropie, and is incompatible with a RaspberryPi installation.
This tutorial is linked to the RetroPie PC Installation tutorial.
Adding a new system
First, copy the default configuration of supported systems:
cp /etc/emulationstation/es_systems.cfg /opt/retropie/configs/all/emulationstationthus, our modifications will not be altered in case of a RetroPie update.
Now, you can edit the file /opt/retropie/configs/all/emulationstation/es_systems.cfg and add to it at the end, before </systemList>:
    <system>
       <name>pc</name>
       <fullname>PC</fullname>
       <path>/home/pi/RetroPie/roms/pc</path>
       <extension>.sh</extension>
       <command>%ROM%</command>
       <platform>pc</platform>
       <theme>pc</theme>
    </system>
32-bit games support
Follow this section if your Debian installation is 64-bit, in which case you will need to have performed the following operations to launch 32-bit games.
You need to perform this procedure if running the command:
ldd executable_du_jeureturns the error "not a dynamic executable", and the command:
file executable_du_jeutells you, among other things, "ELF 32-bit".
If you are in this case, execute:
    sudo dpkg --add-architecture i386
    sudo apt-get update
    sudo apt-get install libc6-i386 lib32stdc++6
if you have an nVidia card with nVidia drivers installed, you might need:
sudo apt install libgl1-nvidia-glx:i386(a similar package should be available for other graphics cards).
Adding a PC game
To add a game, simply create a file with the game's name in /home/pi/RetroPie/roms/pc, with the .sh extension. Example:
touch ~/RetroPie/roms/pc/a_pc_game.shThen make this file executable:
chmod +x ~/RetroPie/roms/pc/a_pc_game.shThen you need to edit this file to add the game launch command as follows:
    #!/bin/bash
    kill -USR1 $(cat /tmp/music_player.pid)
    /absolute/path/to/game/binary
    kill -USR2 $(cat /tmp/music_player.pid)
If you have not followed the background music chapter of the RetroPie PC Installation tutorial, remove the two lines starting with kill from your script. They are used to interrupt the music when the game starts, and to restart it when the game ends.
Quitting PC games
It can be convenient to quit a game with a dedicated key, or a combination of keys, like other games emulated by RetroPie.
In the example below, we have chosen to press two keys simultaneously on our game controller to quit a PC game.
First, let's install the required packages:
sudo apt install joystick xserver-xorg-input-joystick xbindkeysTo identify the keys on our game controller, we need jstest:
jstestyou will then see, when pressing a key on the game controller, its number. In our example, we will use START and SELECT, whose codes are 9 and 8 respectively.
Similarly, we will need to identify the key codes for CTRL and X. We will use xbindkeys for this:
xbindkeys -kwhich reveals the code when a key is pressed. For CTRL we get 37, and for X 53.
Now, we will configure Xorg so that START and SELECT trigger the CTRL+X key combination. To do this, you need to edit /etc/X11/xorg.conf.d/50-joystick-all.conf and insert:
    Section "InputClass"
        Identifier "joystick-all"
        Driver "joystick"
        MatchIsJoystick "on"
        MatchDevicePath "/dev/input/event*"
        Option "StartMouseEnabled" "false"
        Option "MapButton9" "key=37"
        Option "MapButton10" "key=53"
    EndSection
Note: You need to add 1 to the key code given by jstest, here we have MapButton9 and MapButton10.
Now we can configure all this. We will use xbindkeys to trigger an action on CTRL+X. You need to create the file ~/.xbindkeysrc and insert:
    "/home/pi/RetroPie/roms/pc/_exit_game.sh"
      Control+Mod2 + x
We also create ~/RetroPie/roms/pc/_exit_game.sh with this content:
    #!/bin/bash

    PIDFILE="/tmp/pc_game.pid"

    # Get all child processes PID
    cpid ()
    {
            local child=$(ps -o pid= --ppid "$1")
            for pid in $child; do
                    cpid "$pid"
            done
            echo "$child"
    }

    if [ -f ${PIDFILE} ]; then
            PID=$(cat ${PIDFILE})
            sudo kill $(cpid $PID)
            sudo kill $PID
            rm ${PIDFILE}
    fi
and at the same time, we create ~/RetroPie/roms/pc/_run_game.sh:
    #!/bin/bash

    echo $BASHPID > /tmp/pc_game.pid
    "$@"
then we make these two scripts executable:
    chmod +x ~/RetroPie/roms/pc/_run_game.sh
    chmod +x ~/RetroPie/roms/pc/_exit_game.sh
To launch a PC game, it's slightly different from what we've seen previously:
    #!/bin/bash
    kill -USR1 $(cat /tmp/music_player.pid)
    ~/RetroPie/roms/pc/_run_game.sh /absolute/path/to/game/binary
    kill -USR2 $(cat /tmp/music_player.pid)
Finally, you need to activate xbindkeys at startup so that it handles the action associated with pressing CTRL+X (START+SELECT). You therefore need to create the file ~/.config/autostart/xbindkeys.desktop and insert:
    [Desktop Entry]
    Type=Application
    Exec=/usr/bin/xbindkeys
    X-GNOME-Autostart-enabled=true
    Name=xbindkeys
Restart the X session to take all these settings into account.
Gamepad and joystick support
Some games poorly support, or do not support at all, gamepads (and joysticks). For these cases, we can use Padmapper or Antimicro.
Padmapper is a commandline tool, its settings are done by editing a configuration file. It is a project associated to VersusBox project.
Antimicro is a graphical application.
Padmapper
Padmapper is a Linux tool that allows you to simulate keyboard and mouse input from game controllers. This makes it possible to press keyboard keys using controller buttons and to move the mouse using a joystick.
Setup:
sudo pip install padmapperWe will create a configuration and gamepad profiles for each game independently.
At this stage, you can launch the game and note the default key configuration, which will be useful for setting up our gamepad mapping.
Then you can run the capture tool to find out the gamepad buttons identifiers:
padmapper-captureFollow the official documentation on Padmapper GitHub page to write your game configuration file.
Put your configuration file here: /home/pi/RetroPie/roms/pc/<game_name>/padmapper.json.
The game startup script, as described in Adding a PC game, has to look like this:
    #!/bin/bash

    WORKING_DIR="/home/pi/RetroPie/roms/pc/<game_name>"
    export XDG_CONFIG_HOME="${WORKING_DIR}"

    # Arret de la musique
    kill -USR1 $(cat /tmp/music_player.pid)

    echo $BASHPID > /tmp/pc_game.pid
    padmapper /home/pi/RetroPie/roms/pc/<game_name>/padmapper.json &
    PADMAPPER_PID=$!

    # Lancement du jeu
    ${WORKING_DIR}/<executable>

    # Stoppe padmapper et redemarre la musique
    kill -9 $PADMAPPER_PID
    kill -USR2 $(cat /tmp/music_player.pid)
Replace <game_name> by the game folder name, and <executable> by the executable name.
Antimicro
Antimicro is an application that simulates keyboard key presses when a gamepad is used. The method below works for two gamepads allowing two players to play the same game.
Let's start by getting and installing Antimicro, you can find an up-to-date version for Debian here: https://packages.libregeek.org/debian/pool/main/a/antimicro/
Download it, then install it with:
sudo dpkg -i antimicro_X.Y.debWe will create a configuration and gamepad profiles for each game independently.
At this stage, you can launch the game and note the default key configuration, which will be useful for setting up our gamepad mapping.
Then, launch Antimicro as follows:
XDG_CONFIG_HOME=/home/pi/RetroPie/roms/pc/<game_name> antimicrowhich will start a configuration interface.
If the characters are too small and unreadable, you can restart this interface with:
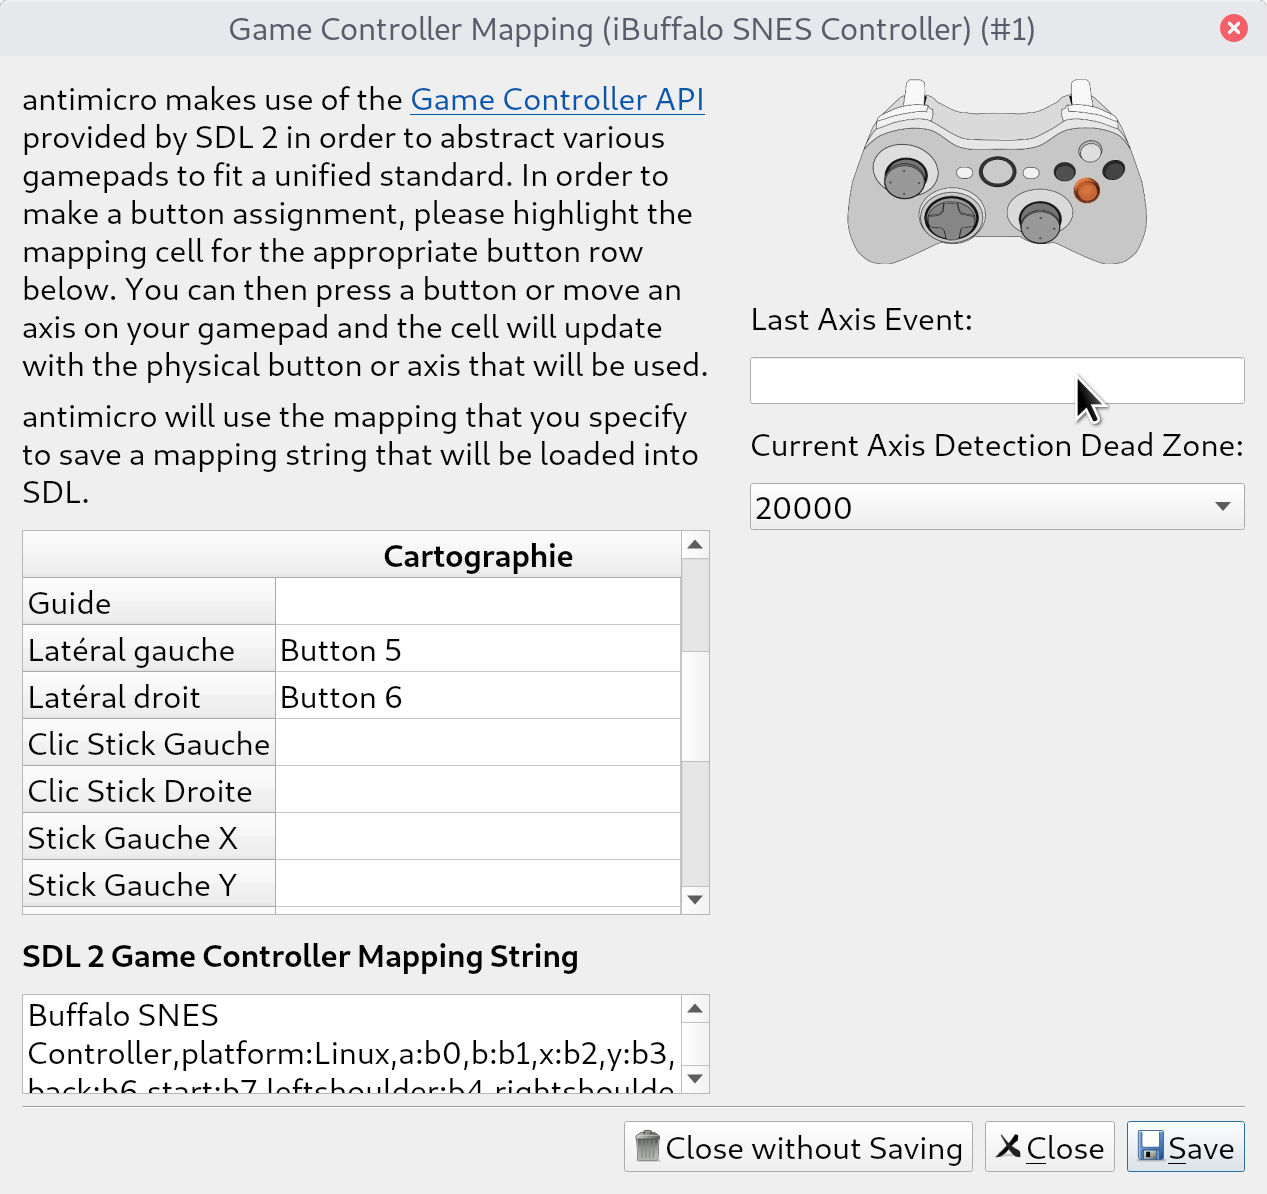
XDG_CONFIG_HOME=/home/pi/RetroPie/roms/pc/<game_name> QT_SCALE_FACTOR=2 antimicroFirst, you need to configure your gamepads. If they are identical, only one configuration is needed, otherwise you need to do it for each. Go to the Options menu then [Controller Mapping]. Then fill in each key. You can assign Back to your Select key.
Back in the main interface, you will find as many tabs as connected gamepads. You can then, for each gamepad key, define which keyboard key will be simulated. You can define the Back action to the ESC key and the Start action to the ENTER key.
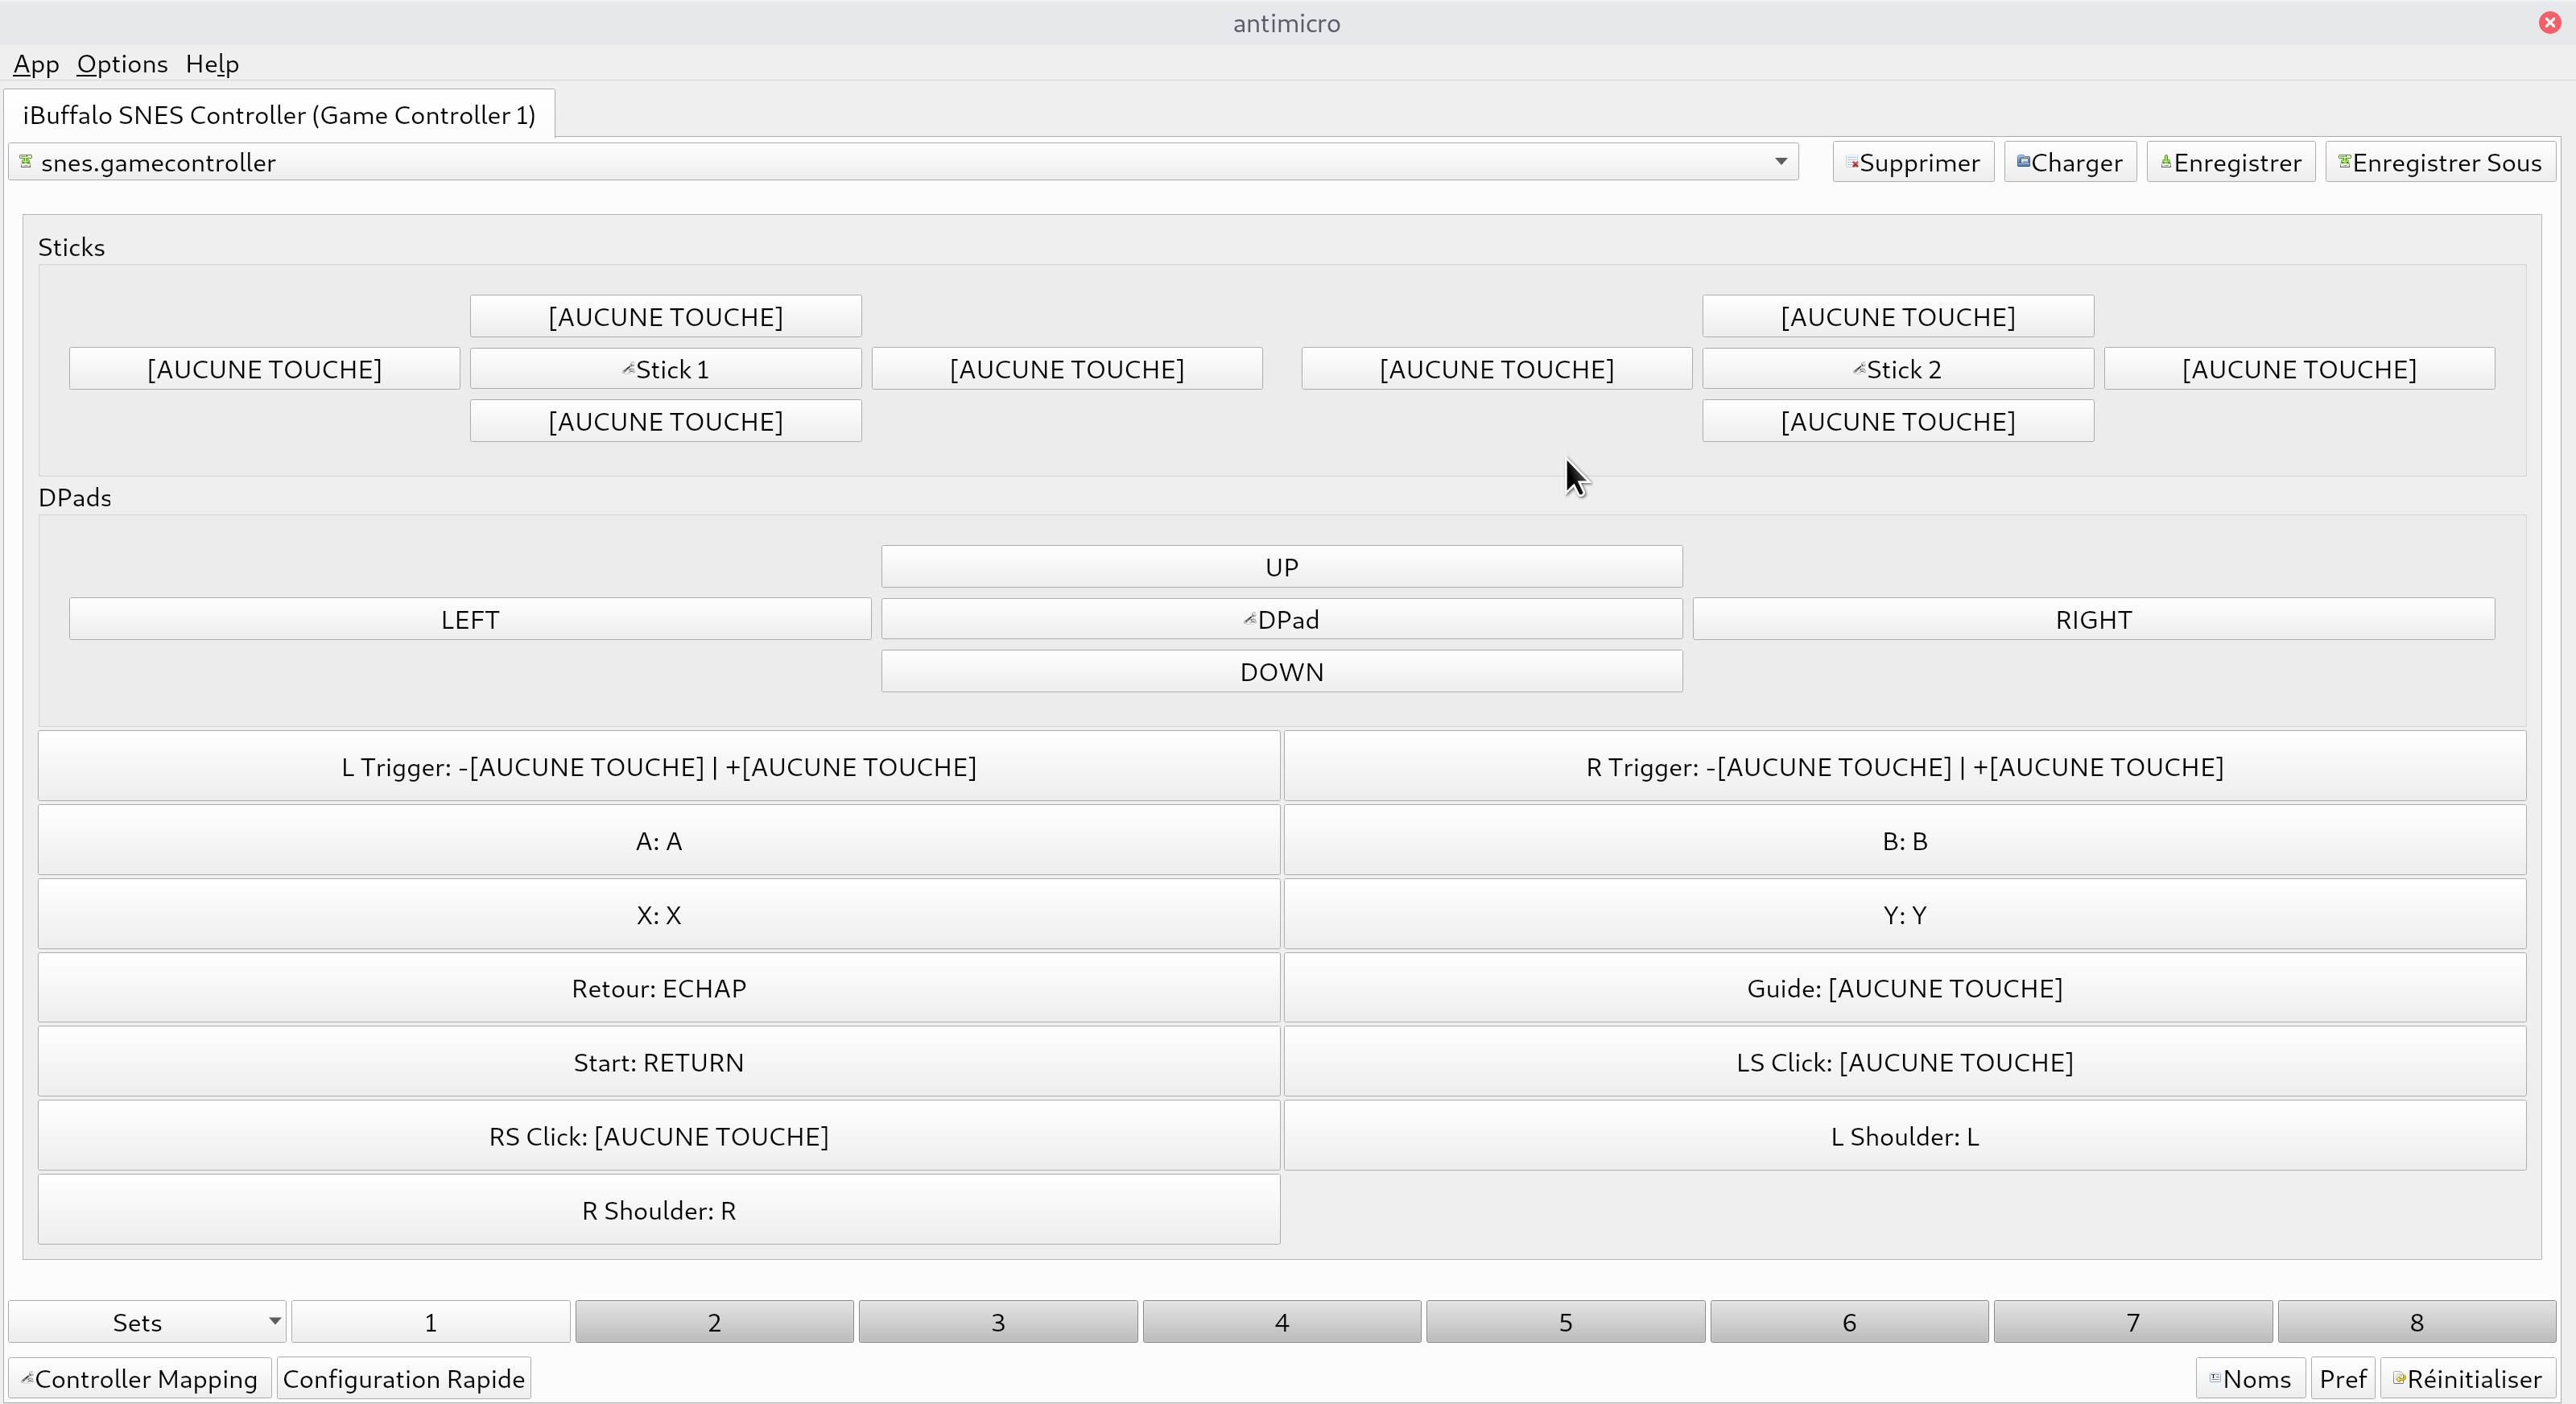
Save the profile for each gamepad tab using the Save button. Save the profiles in a directory /home/pi/RetroPie/roms/pc/<game_name>/antimicro
Finally, go to the Options menu then Settings, in the general tab make sure that the box allowing to automatically load the last used profile is checked. You can then quit Antimicro.
The game launch script, as described in the Adding a PC game chapter, should look like this:
    #!/bin/bash

    WORKING_DIR="/home/pi/RetroPie/roms/pc/<game_name>"
    export XDG_CONFIG_HOME="${WORKING_DIR}"

    # Stop music
    kill -USR1 $(cat /tmp/music_player.pid)

    # Assign controller 1 to profile p1
    antimicro --hidden --no-tray --profile-controller 1 \
       ${WORKING_DIR}/antimicro<controller_name_1>.gamecontroller.amgp &
    kill $!
    # Assign controller 2 to profile p2
    # Profile p1 is pre-loaded because it was the last used profile
    antimicro --hidden --no-tray --profile-controller 2 \
       ${WORKING_DIR}/antimicro/<controller_name_2>.gamecontroller.amgp &
    ANTIMICRO_PID=$!

    # Launch game
    ${WORKING_DIR}/<executable>

    # Stop Antimicro and restart music
    kill $ANTIMICRO_PID
    kill -USR2 $(cat /tmp/music_player.pid)
Replace <game_name> with the game's directory name, <controller_name_1>, <controller_name_2> with the names of the profile files previously saved for each controller, and <executable> with the name of the executable.
Force disabling controllers in a game
If your game had controller support, even poor, you will need to disable controller support in your game. Indeed, if the game reacts to certain controller events, it could conflict with the commands relayed by Padmapper or Antimicro, and disrupt the proper functioning of the game.
If your game does not allow disabling controller support, follow the next solution.
The solution proposed here consists of running the game through a user other than the pi user. This user will not be present in the input group and will therefore not be able to read controller inputs.
We start by adding a new user who will be dedicated to running these games, we name this user user_noctrl:
sudo useradd -m -d /home/pi/RetroPie/roms/pc/user_noctrl -G video,audio user_noctrl -s /bin/bashFor each game concerned, change the permissions on its files:
sudo chown -R user_noctrl /home/pi/RetroPie/roms/pc/<game_name>/<game_files>and modify the game launch script so that it is executed in this way:
    [...]
    # Launch game
    chmod o+rw ~/.Xauthority
    sudo -u user_noctrl "${WORKING_DIR}/<executable>"
    [...]
For the user_noctrl user to have access to audio without problems, edit /etc/pulse/default.pa and add at the end:
load-module module-native-protocol-unix auth-anonymous=1 socket=/tmp/pulse-socketwhich will allow user_noctrl to access the audio daemon via a UNIX socket.
Then you need to modify the Pulse configuration for user_noctrl so that it uses this socket. Log in to the shell as user_noctrl:
sudo -u user_noctrl -sand execute:
mkdir -p .config/pulsethen edit ~/.config/pulse/client.conf to insert:
default-server = unix:/tmp/pulse-socketand press CTRL+D to exit the user_noctrl shell, reboot, and the pi and user_noctrl users will have simultaneous audio access.
Now, the game no longer has access to game controllers, only to the keyboard and mouse.
Other methods are listed on the Antimicro wiki.
Adding a Steam game
In the procedure below, it is assumed that Steam is not on the RetroPie PC, and that the desired games are copied from another machine where Steam is installed. Indeed, we do not wish to use the Steam interface to launch our game here, we wish to access it through our EmulationStation interface.
Steam installation on the machine is not necessarily required, if the desired game does not use Steam API features. Some games will therefore not work without Steam.
Only Linux-compatible Steam games are supported.
Attention: This procedure is not intended to assist in game piracy, you must have acquired the game on the Steam platform to use it later on your RetroPie gaming PC.
Copying the Steam game to the RetroPie PC
On the Steam PC, games are located in your directory:
/home/<username>/.local/share/Steam/SteamApps/common
Simply copy your game folder to your RetroPie machine, to the location of your choice.
Adding the game to the PC collection in EmulationStation
Follow the Adding a PC game procedure detailed previously. The game executable is located in the previously copied folder, and is specific to each game; it's up to you to identify it.
Dependencies
Some Steam games may depend on certain libraries that are usually found on an Ubuntu system, for which Steam is originally intended.
You can install the following libraries, which might prove useful:
    sudo apt install libgtk2.0 libxtst6:i386 libxrandr2:i386 libglib2.0-0:i386 \
    libgtk2.0-0:i386 libpulse0:i386 libgdk-pixbuf2.0-0:i386 \
    libcurl4-openssl-dev:i386 libopenal1:i386 libusb-1.0-0:i386 \
    libdbus-glib-1-2:i386 libnm-glib4:i386 libnm-util2:i386
Advanced
This section is for more advanced users, who want to try to make more stubborn games work without Steam.
If one of your games does not start correctly, you can start by checking if it is missing any libraries:
ldd game_executableLDD will inform you if a library is missing. You can then search if the library is provided by a Debian package by searching for it on https://packages.debian.org, section Search the contents of packages, and install the eventual package.
Other libraries may be dynamically loaded during game execution. You can identify them with the following command:
strace -f game_executableThis command provides a lot of indigestible information about the system calls the game makes; it can help you identify a missing file for the game.