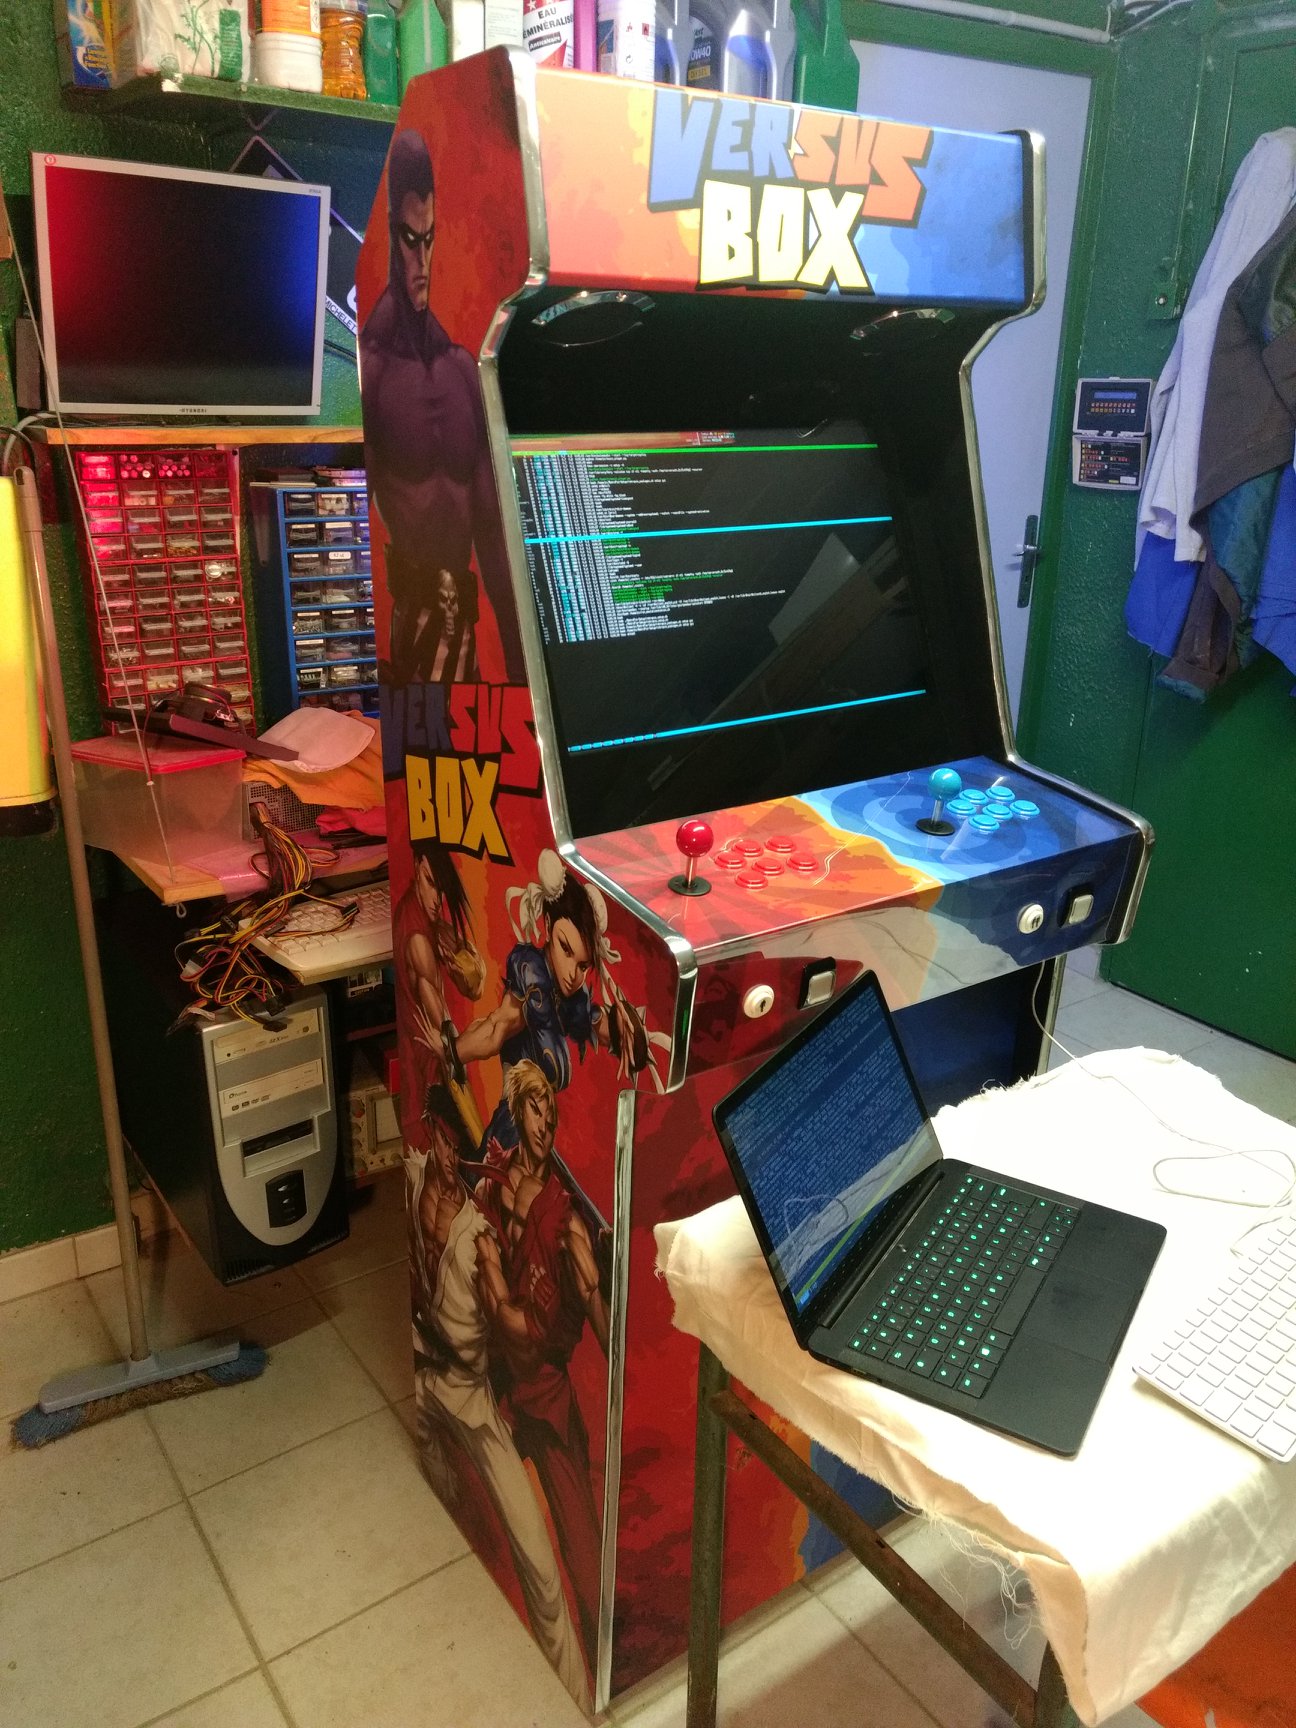
Installing RetroPie on PC
This tutorial describes the installation and configuration of the Linux distribution RetroPie on a PC dedicated to video game emulation. This PC can be integrated as an arcade cabinet or a game console.
The goal is to have a dedicated system, meaning that as soon as it powers on, an interface will offer access to the games.
We assume that a basic Debian system has been installed on the PC. Recommendations for the rest of this tutorial:
- No graphical interface or desktop installed,
- SSH access,
- We assume below that the default user created during installation is pi, without special permissions,
- Minimal knowledge of the Linux shell is highly recommended,
- A 64-bit installation is recommended.

Global System Configuration
From a root shell, directly on the machine, allow pi to have root rights:
apt install sudo
usermod -aG sudo pi
To allow the pi user not to require a password for root rights, edit the sudo configuration:
sudo visudoand add:
# No password for user pi
pi ALL=(ALL) NOPASSWD:ALL
(This is not recommended on a regular PC.)
Note the machine's IP address on the local network:
ip aThe rest of the tutorial can be done from an SSH shell from another machine:
ssh pi@<ip_address>Install the required packages for display and audio:
sudo apt install xorg openbox pulseaudio alsa-utils curlAdd pi to the input group:
sudo usermod -aG input piInstalling Graphics Drivers
To improve 3D rendering, it may be useful to install the official drivers for your graphics card.
The procedure below describes installation for a Geforce GTS 450. If another graphics card is used, the procedure will be similar; refer to the documentation on the Debian wiki: https://wiki.debian.org/GraphicsCard
Edit /etc/apt/sources.list and add contrib and non-free, example:
deb http://httpredir.debian.org/debian/ stretch main contrib non-freeThen install the necessary components:
sudo apt update
sudo apt install linux-headers-$(uname -r|sed 's/[^-]*-[^-]*-//') nvidia-driver
Immediate Boot without Grub Timeout
Edit /etc/default/grub and change GRUB_TIMEOUT to 0. Then run:
sudo update-grub2Installing RetroPie
First:
sudo groupadd admin
sudo usermod -aG admin pi
Then follow the official tutorial for a "Basic install": https://retropie.org.uk/docs/Debian/
Automatically Starting EmulationStation
The procedure below allows the PC to boot directly into EmulationStation.
We will automatically log in the pi user, then automatically start Xorg, then start the OpenBox desktop, and finally EmulationStation.
User Autologin
Run:
sudo systemctl edit getty@tty1And enter the following content:
[Service]
ExecStart=
ExecStart=-/sbin/agetty --autologin pi --noclear %I $TERM
Automatically Start Xorg at Login
Add to the ~/.profile file:
[ "$(tty)" = "/dev/tty1" ] && startxRemove the Mouse Cursor
Edit /etc/X11/xinit/xserverrc and add the -nocursor option as follows:
exec /usr/bin/X -nolisten tcp "$@" -nocursorAutomatically Start OpenBox
Create the ~/.xinitrc file, make it executable, and insert:
xrandr -s 1440x900
amixer set Master unmute
xset -dpms s off
openbox-session
Change the screen resolution in the xrandr line above to the optimal value for the screen used.
The amixer line ensures the audio output is not muted.
The xset line disables the screensaver and DPMS (Display Power Management Signaling) to ensure no black screen appears during gameplay.
Automatically Start EmulationStation
Run:
sudo RetroPie-Setup/retropie_setup.shGo to Configuration / Tools > autostart > enable Autostart Emulation Station after login.
Exit the tool, and run:
sudo chown pi .config/autostart/retropie.desktopEdit ~/.config/autostart/retropie.desktop and change the value of Exec to:
Exec=~/run_emulationstation.shCreate a ~/run_emulationstation.sh file, make it executable:
touch ~/run_emulationstation.sh
chmod +x ~/run_emulationstation.sh
and insert:
#!/bin/bash
xterm -fg white -bg black -e emulationstation --no-splash
xterm -fg white -bg black
The last line launches xterm in case EmulationStation is closed.
OpenBox Customization
Create the configuration:
mkdir ~/.config/openboxThe configuration is to be done in ~/.config/openbox/rc.xml, which should contain at least:
<?xml version="1.0" encoding="UTF-8"?>
<openbox_config xmlns="http://openbox.org/3.4/rc" xmlns:xi="http://www.w3.org/2001/XInclude">
</openbox_config>
New configurations should be added inside the openbox_config block.
Remove Window Decorations
In the ~/.config/openbox/rc.xml file, inside the openbox_config section:
<applications>
   <application class="*"> <decor>no</decor> </application>
</applications>
Fullscreen Terminal
Add inside the applications section:
<!-- Xterm fullscreen -->
<application name="xterm" class="XTerm" type="normal">
   <decor>no</decor>
   <fullscreen>yes</fullscreen>
   <layer>below</layer>
</application>
Background Music
The goal is to have background music when in the EmulationStation menu, and stop the music when a game is launched.
Download the music_player.py script from https://mathieu-abati.com/resources/guides/versusbox/music_player.py and place it in ~/music_player.py. Make it executable:
chmod +x ~/music_player.pyEdit the script and customize the configuration in the script header.
Install the script dependencies:
sudo apt install python-pygameTo automatically launch the music, create a ~/.config/autostart/music_player.desktop file and insert:
[Desktop Entry]
Type=Application
Exec=~/music_player.py
X-GNOME-Autostart-enabled=true
Name=music_player
All you have to do is place music files in the directory configured in the script header.
Game System Settings
NeoGeo in AES Mode
AES mode is the home console mode of the NeoGeo.
Edit /opt/retropie/configs/all/retroarch-core-options.cfg and change fba-neogeo-mode to AES.
Choosing the Order of Controllers
Install RetroPie Joystick Selection by following the instructions here: https://github.com/meleu/RetroPie-joystick-selection/#installation
Restart; Joystick Selection is accessible from the RetroPie menu in EmulationStation.
Troubleshooting
Illegal instruction when launching EmulationStation
GDB revealed that the issue was in libSDL2. Reinstalling fixed the problem:
sudo apt remove --purge libsdl2-2.0-0 libsdl2-dev
sudo apt install libsdl2-2.0-0 libsdl2-dev
Controller configuration is not saved after reboot / not effective in games
Exit EmulationStation, then run:
sudo RetroPie-Setup/retropie_setup.shGo to Manage Packages >> Manage Core Packages >> EmulationStation >> Configuration / Options >> Clear / Reset EmulationStation Input Configuration and reset the configuration.
Exit the configuration tool and reboot. Reconfigure the controllers; it should now work correctly.